Airstream Belly Pan Removal

Removing the belly was straight forward enough. The seam of the side panels and banana wraps is under the rub rails, so we took those off first by drilling out the pop rivets with ⅛ drill bit.

Before this project I hadn’t ever used a power drill…. I kept breaking drill bits and annoying my husband, so that was fun.
There was old sealant there (like there is everywhere…I’m so glad to be done scraping old sealant.) Anyway, we used a plastic scraper (TIP! to prevent scratching the soft aluminum, use plastic scrapers and razor blades, never steel!!) to break the seal, then went back later with a plastic razor blade and aircraft remover to clean it up.

Then we removed the aluminum pieces under the belly by drilling out the rivets. It was simple in the sense of it not taking a ton of skill, but it wasn’t easy, it sucked. When drilling under the trailer there is little hope of avoiding getting aluminum pieces blasted in your face. When we took down the old pieces, the nasty insulation fell everywhere including all over Tom. The week we did this project happened to conveniently be super windy so we were chasing pink fluffy down the street, into the neighbor’s yards and into the park…hopefully we got most of it (sorry earth.) We labeled and saved all the old aluminum to use as templates to cut new ones.


New Airstream Belly Pan Installation
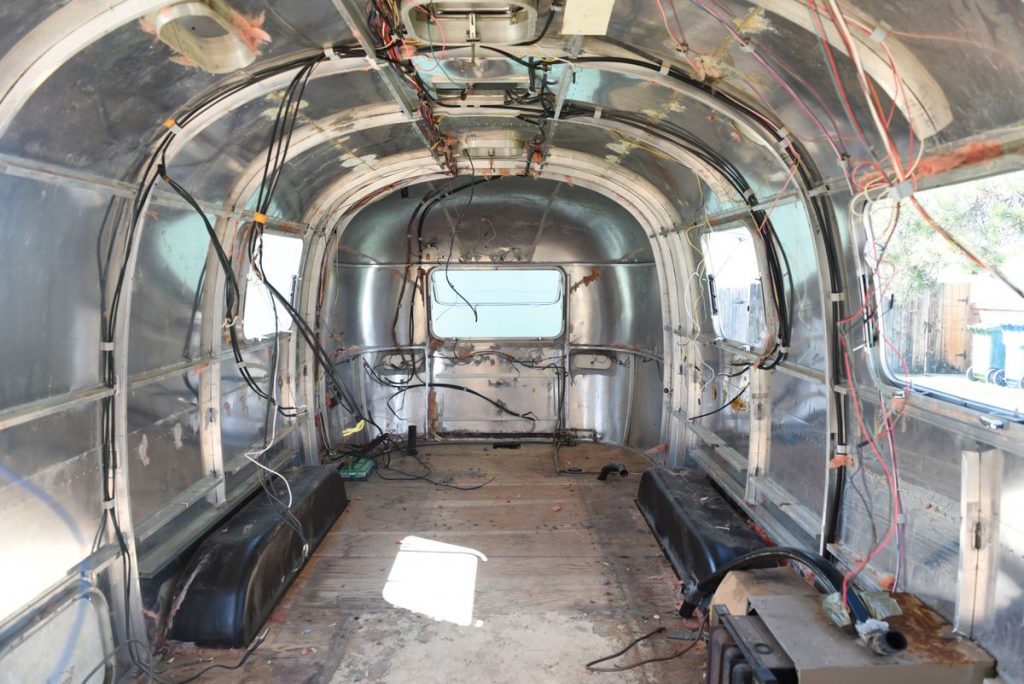
The belly stayed off for many months. Once it was off we were able to treat our frame, replace our floor and put in new tanks and plumbing. Once we were finally ready to button the bottom back up we ordered a 48″ wide roll of .025″ 5052 H32 Airstream Belly Pan aluminum for the main center belly section, and .032 2024T3 Alclad Airstream aluminum to recreate new banana wraps as our old ones were quite damaged… We ordered the belly pan aluminum from Airparts Inc. as we found their prices to be the best, and their customer service was great! We used the old pieces as templates and cut the new pieces with metal shears from Harbor Freight. Some people use strong scissors but that seems terrible, so I recommend the tool.


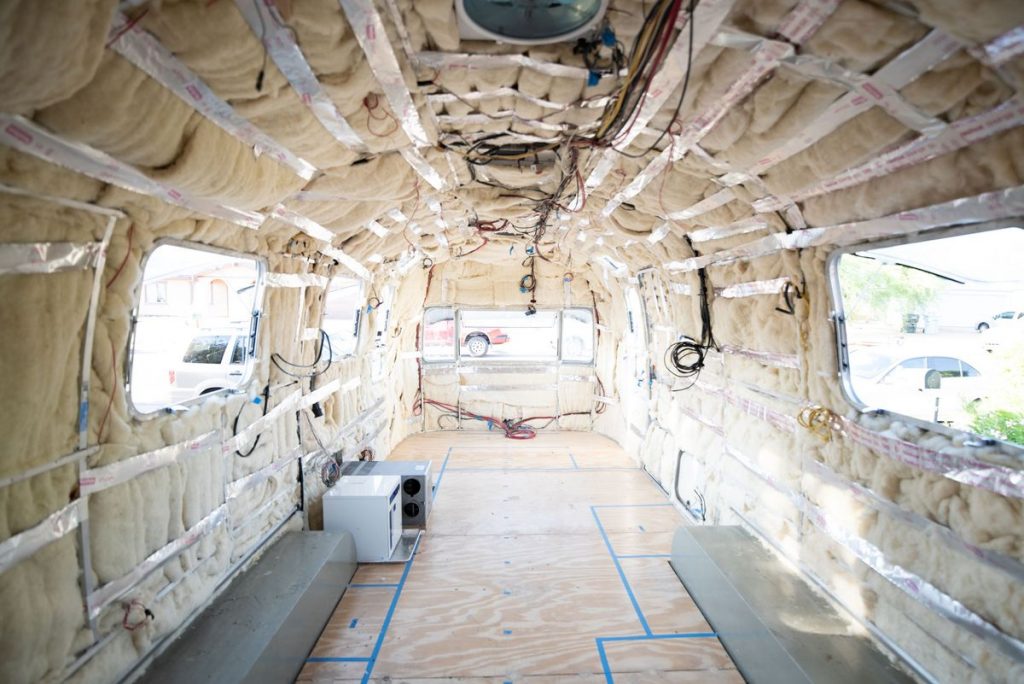
It’s worth noting that not all the pieces fit exactly the same as the originals so if you’re on this step be sure to check the old piece and determine adjustments before cutting a new piece from the template. We insulated with Havelock wool in our airstream AND belly pan one section at a time and used pop rivets to put it back together starting with the large pieces in the middle, then the skirts and banana wraps and finally finishing with the rub rail. We sealed the top of the skirts and banana corners with Trempro and sealed the rub rail with Acryl-R. We did not seal the rest of the pieces under the trailer. The hope is that water doesn’t get in but if it does it needs a place to get out. So by not sealing the bottom water can escape out the seams.


We had the belly open for almost a year as we completed other projects. Finally putting it back together felt like a huge accomplishment and was worthy of a celebration.


Wow, you two are doing a fabulous job! Before I start I want to understand the corners of the banana wrap, did you use the old pieces for a template and how did you curve them…..this part looks to be a huge challenge.
Many thanks!
Michael
Hi Michael! Not sure when you posted this, but we’re just seeing it, so sorry if there was a long delay :/
Yes, we kept all of the old pieces of banana wrap. In fact, we kept nearly every original piece initially. Over time as we got to those various steps, we realized things were didn’t need and either sold them to fellow restores that wanted that original look, and tossed others.
So we laid out the new sheet of aluminum (2024T3 Alclad Aluminum Sheet .025 from AirParts), then traced the old piece out top with a sharpie marker (don’t worry, it comes off super easy with acetone). Then we hand bowed it on the ground to get a slight curve (be careful not to crease it!). Then rivet one side up, top or belly side, then wrap it tightly around the corner and rivet the other side (having another helper, or 2 for the long pieces, to hold is basically essential here.) That’s it!
Also make sure your pieces are overlapping properly so that the rear pieces go UNDER the next pieces (so wind and rain go past and not in).
Hope that makes sense! We actually have some video of this, and tons of other steps of our Reno, just haven’t made the time to upload it all here! We thought traveling full time would give us so much more free time, but you still have to do life! It’s not like vacation…lol but OH SO WORTH IT! 🙂
Good luck! Blessings on your restoration journey! Send us some pics! Hello@thomasc329.sg-host.com