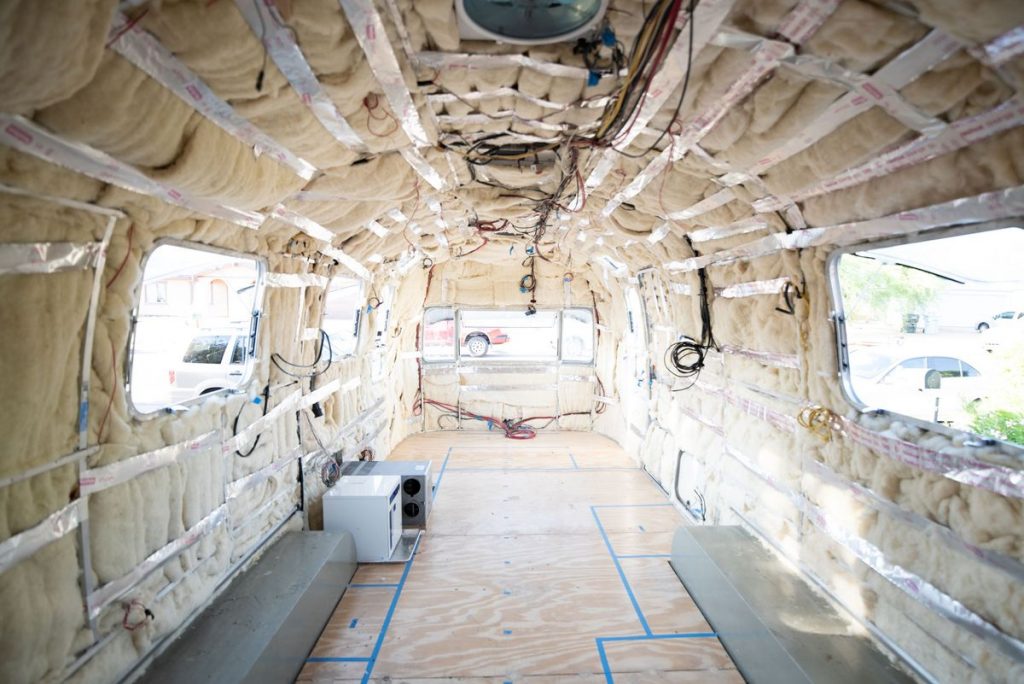
After a blissful season of memory-making travels with Ramona, it was finally time to start our renovation project.
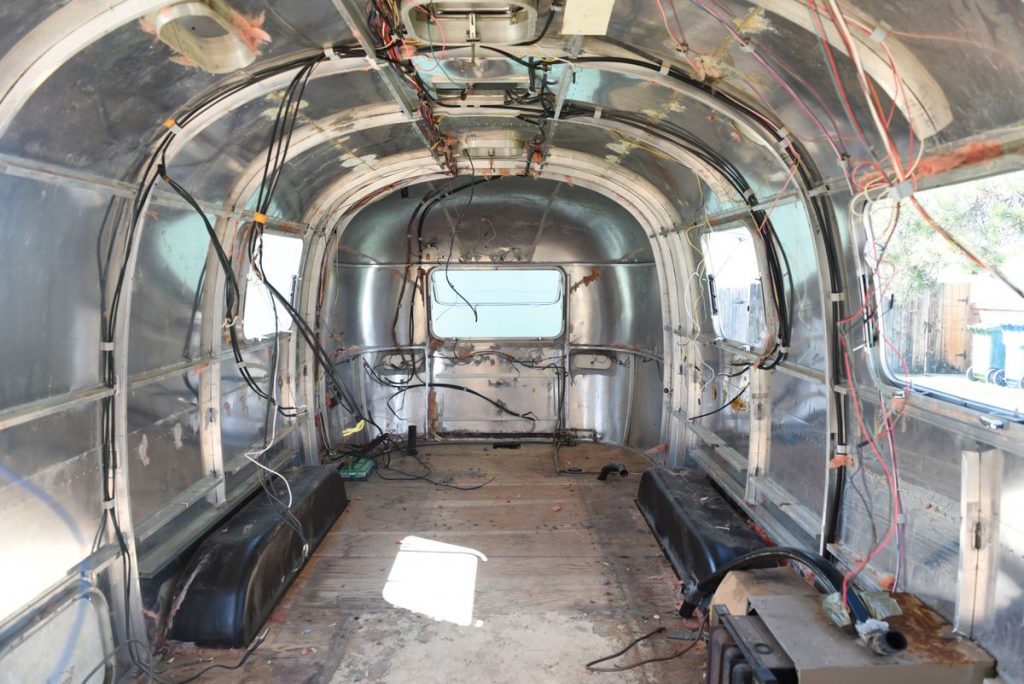
Step one: Take out all the things.
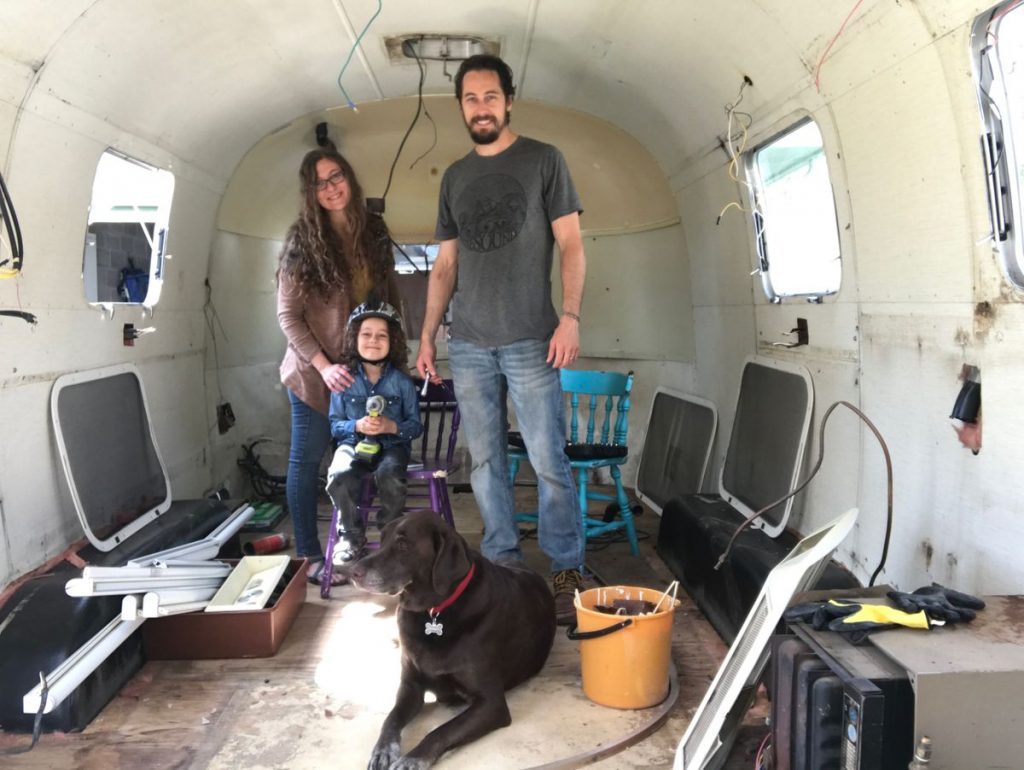
On demo day Tom and I stood in the trailer with our tools in hand looking around with no idea where to even begin. Finally, I said, “find a screw and start unscrewing it.” So we did and after a weekend (of mostly Tom’s work…I ditched him for other plans) the interior furnishings and most parts were out.
Demo was a fairly simple project. All we needed tool-wise were drills for unscrewing screws, ⅛ drill bits for drilling out rivets, sawzall for pipes and such, some muscles, a place to keep a giant pile of trailer parts, some good tunes, and a beer or 2.
Watch a quick time-lapse video of our airstream demolition!
I had some guilt about removing such classic vintage furnishings and refused to add to the landfill any more than necessary so we kept all the parts with the intention of reselling them. Just because we decided to completely re-do our tiny home doesn’t mean there isn’t a need for all the things we took out. Lots of people restore their trailers and these old parts are treasures. With the help of Facebook and the Airstream community, I was able to find new homes for almost all of our parts. It was a win, win win…. We made some extra funds for our project, kept the things out of the landfill, and gave joy to multiple families restoring their dream trailers.
Project time: 15 hours


