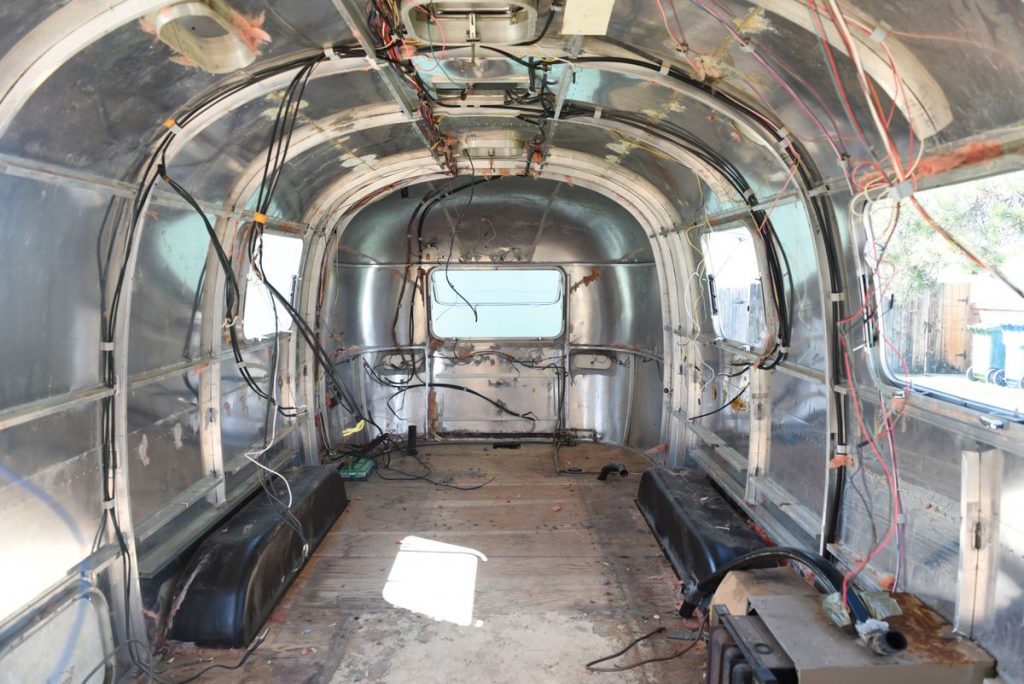
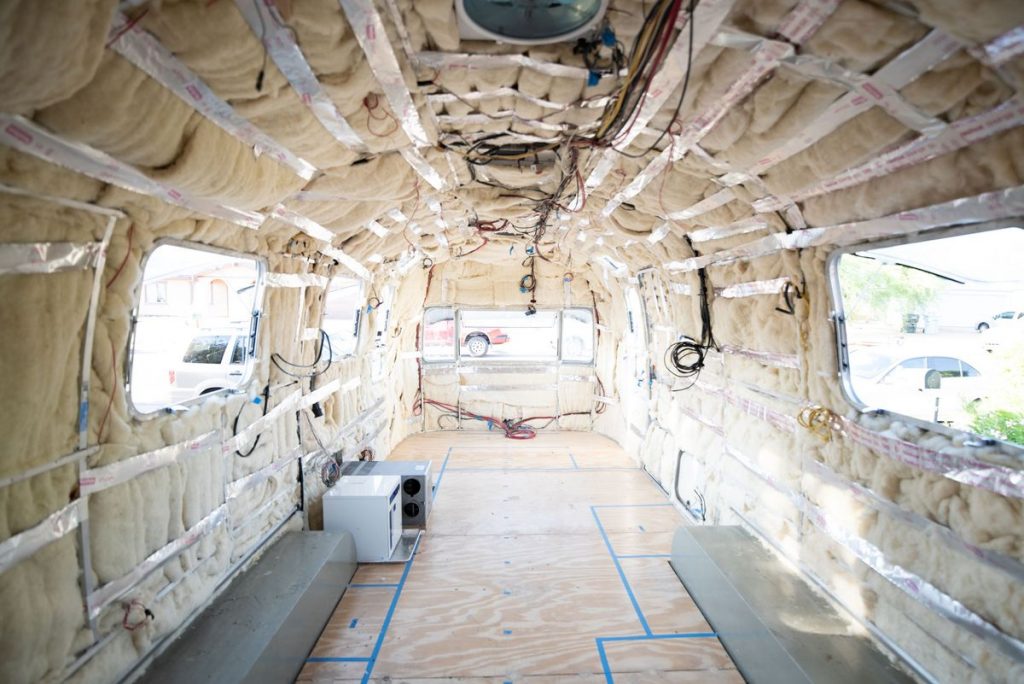
Once we had the interior furnishings and parts removed the next step was to take out the walls (they’re called skins but I’m just learning all the Airstream lingo as we go.) I am happy to report that this was way easier than I built it up to be in my head. It was fairly quick and quite satisfying. Basically just drill out the rivets and remove each panel starting from the top (the side panels tuck behind the top piece) and work your way down. Before you pull anything apart be sure to label everything! There are a lot of pieces and the puzzle of putting them back together could be rough if not planned right.

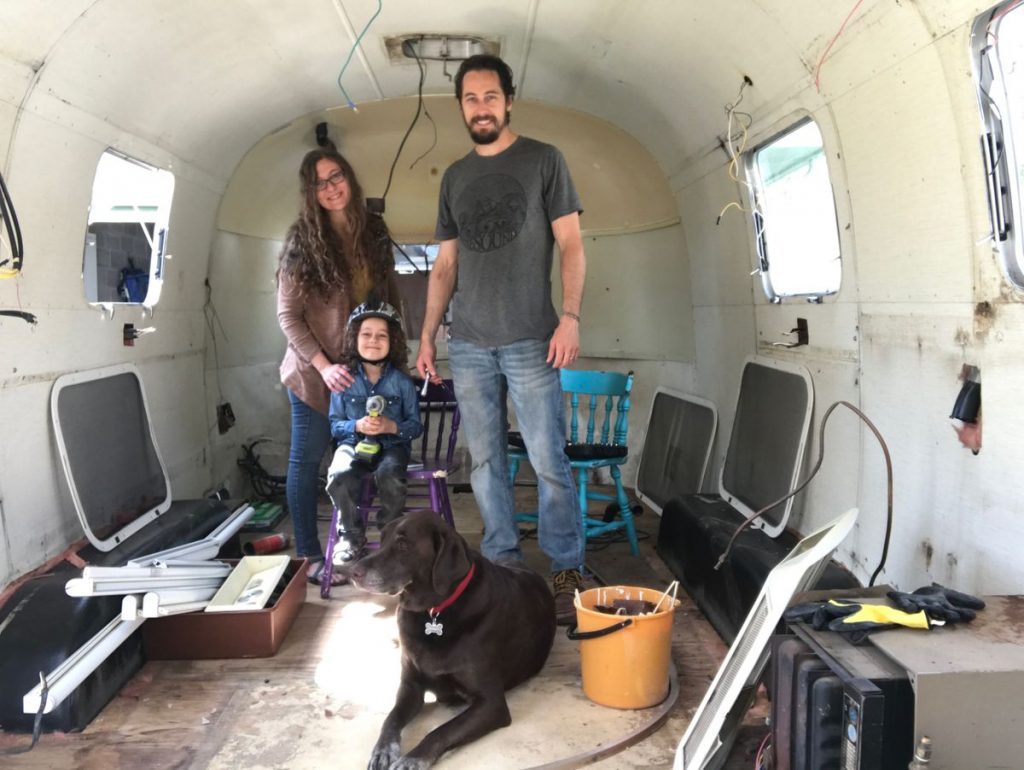
This was a really great project to do as a team. Tom removed the panels and I followed behind him and pulled out the old insulation. Thankfully ours was in good shape… I had feared mold, bugs and rodents but overall it was clean. Nonetheless that old fiberglass stuff is gross. If you’re doing this project be sure to wear long sleeves, a mask, gloves and eye protection. That stuff is itchy and terrible to breathe in. I can’t wait to replace it with a more natural option that doesn’t seem like it’s trying to kill you by being in your presence (but that post will come later.)

As much as I hate creating trash, I was thrilled to get all of that nasty pink stuff of out our trailer and off to the dump. In a quick afternoon we had Ramona down to the floor and were ready to move on to the next step.

